![]()
How to Reglaze a Window

Replacing a broken pane of glass and reglazing a window pane takes a little practice, but is basically an easy chore. With the right hand tools and technique, you can get rid of poor glazing and buildup or a dangerous broken pane, and weather-tighten your window.
It is easiest to take the sash right out to work on, although this can be done in place. The pane of glass and all old glazing putty must be removed first using a stiff putty knife or chisel. If the glass is not broken, a careful hand working against the wood instead of the glass will avoid cracking the glass. The pane is held in place by small metal wedges called glazier’s points. Feel along for them and pry them out as you go. Gently work the pane out of the sash.
The grooves in the muntins and sash that the windowpane sits in is called a “rabbit” (if anyone knows why email me!). This area must be cleaned down to bare wood and primed with a quality oil-based product (or sealed with boiled linseed oil if natural) before reglazing or the wood will draw the moisture out of the glazing and dry it out.
If your windows are old enough to have nice wavy antique glass, find some more so your replacement doesn’t “glare” back as a later repair. Your local transfer station is a great resource, and most window repair shops will have some available. I have been seen in more than one dumpster pulling out old sashes for the glass.
Everyone complains that old glass is too brittle and difficult to cut. All glass is hard to cut without good technique. Hold the cutter firmly and make a single cut with a smooth, uninterrupted motion, then grip both sides of the cut line with even pressure to snap it. Don’t rush it, use a flat work surface, and have sharp, accurate tools ready.
The pane of glass should be 1/8 inch smaller in both dimensions than the opening. When the wood around the glass expands the pressure will crack the pane if it is cut to fit. Always dry-fit the glass, and put it aside in the same orientation that you fitted it.
Glazing compounds are available in oil-based (Dap 33) and water-based (Aqua Glaze) options. Oil-based is an easy to work with traditional favorite, but takes longer to skim over for painting. Water-based glazing tends to be much softer and stickier (wear “vinyl” gloves) so harder to control, but sets up quickly and can be painted the next day.
Use a putty knife to apply the back glaze in the rabbit, and gently push the window pane down evenly into the glazing until you can’t see the wood of the rabbit beneath the glass. Glazier’s points will further secure the glass in place (a 12 inch pane needs only 4). The flat triangles work best (with the accompanying tool to insert them); the ones with the lip are intended more for picture framing and leave a larger surface to have to cover with glazing. Push in the top glazing evenly around the pane.
Using a putty knife, cut into each corner and draw a line about 45-degrees along each side of the glass-glazing, and draw out at the ending corner; work your way around the pane. If you cut the line so you can slightly see the rabbit, the paint won’t show from the other side. Without touching the edges you just shaped, hold the knife in both hands for control and flip the excess putty toward the middle for easy pick up. Go back and clean up the angles in the corners, pulling the knife up and over the wood framing to protect the glazing. You will need to turn the window over and clean up the inside using the same cut and flip technique above.
Once the glazing is firm and skimmed over, it is ready to paint. To complete the weather-tight seal, the paint bead should run just slightly onto the glass.
As always when you are working on older painted surfaces, take lead paint precautions!
Recent Blog Posts
Categories
- Blog Post (3)
- Restoration (2)
- Windows (1)
New eBook!
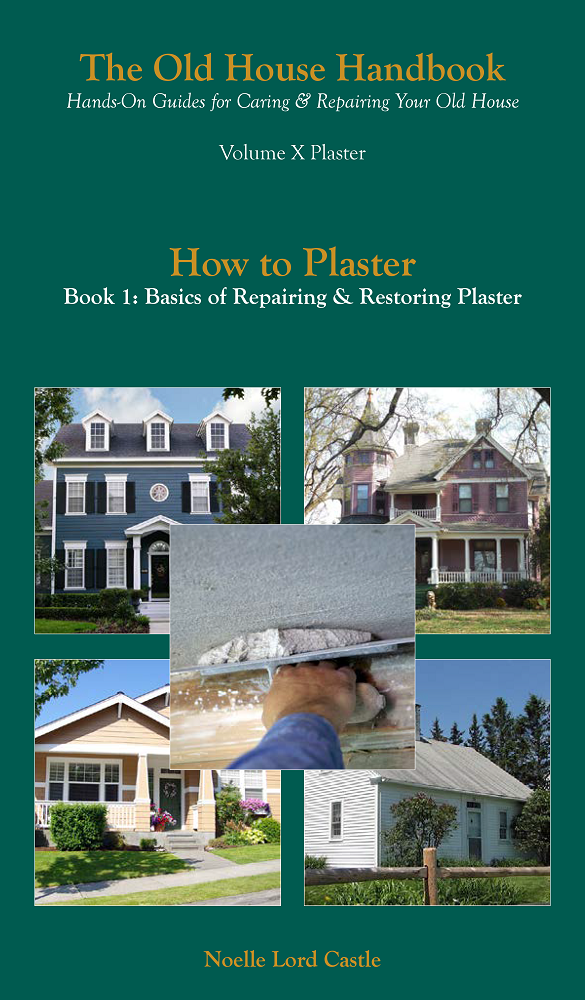
How to Plaster
The essential guide to repairing, restoring, and renovating your plaster!
- Step-by-step instructions
- Working with plaster
- Applying plaster
- Complete repair How-To’s